 Towards the end of last year I decided to invest in a 3D Printer for home. There are a few projects that I want to start on and other family members are keen on using one as well.
After some usual research into printers and choosing one using reviews, blog posts, videos etc to help this decision, I opted to buy a kit version of a printer.
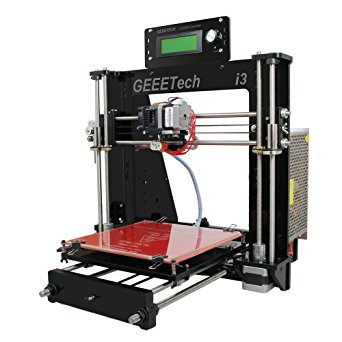
The one I choose was based on the Prusa i3 Pro model and came from Geeetech. My main reason for this was as this is my first 3D Printer build its a generic model with lots of product support and build information so if stuck there is bound to be a YouTube video or blog about it.
The other reason is the support for printing in ABS, PLA, Wood, Nylon and flexible PLA. Yes Wood! Okay – it wont be in the form of 3×2″ that you feed in the top of the printer, but in that the filament is made up of around 40% recycled wood fibres. The finishing looks like a wood product when printed.
Printer ordered, it only took a few days to arrive. I decided to build the printer over a weekend starting on the Saturday, so with the parts carefully laid out across my dining room table in number order, it was time to start making. The instructions are in a PDF format so had my laptop on reading through the parts and instructions. There were links to a series of YouTube Videos that took you through the assembly which came in handy several times.
A small number of tools are supplied with the kit, however a couple of spanners and screwdrivers are helpful additions.


Build pictures above
There is a certain satisfaction on building something like a 3D Printer, a bit like completing a Meccano or Lego construction. Building the printer in this way I have also learnt a lot about how the printer works and functions. This has made it a worthwhile learning exercise.
As I was finishing the assembly, I found that the Z-Axis screw threads were slightly bent. Rolling them on a flat surface confirmed this. The net effect was that the movement up and down of the printing head mechanism would get stuck at the top and bottom of the printer. An email off to the supplier and some excellent customer service later, replacement parts were dispatched.
Due to Christmas Post and distance being sent the replacement parts have only just arrived so Part 2 of this blog will be completing the printer, alignment and testing. The build time so far has been around a days effort.


Leave a Reply